


















 5 Minuten


Chocolate ice cream that tastes as creamy as it does at the ice cream parlor, but provides plenty of protein and contains no refined sugar at all? That's exactly what we're making today. I'll show you my favorite recipe for making high-protein ice cream at home - super creamy, but packed with protein. It only takes a few minutes to prepare and still tastes like a masterpiece. Promise: After the first spoonful, you'll never want supermarket ice cream again. I prefer making my ice cream in an ice cream maker, but don't worry: The recipe works just as well without one. You'll find the instructions for that further down.
The best thing about it all is its versatility. The base for the high-protein ice cream recipe always stays the same, but what you make from it is up to you: homemade caramel, crispy chocolate crispies, fresh raspberries, or a protein bar cut into small pieces and mixed in. More on that later - let's start with the base.
Nährwerte pro Portion
ZUTATEN
- 300 ml almond drink
-
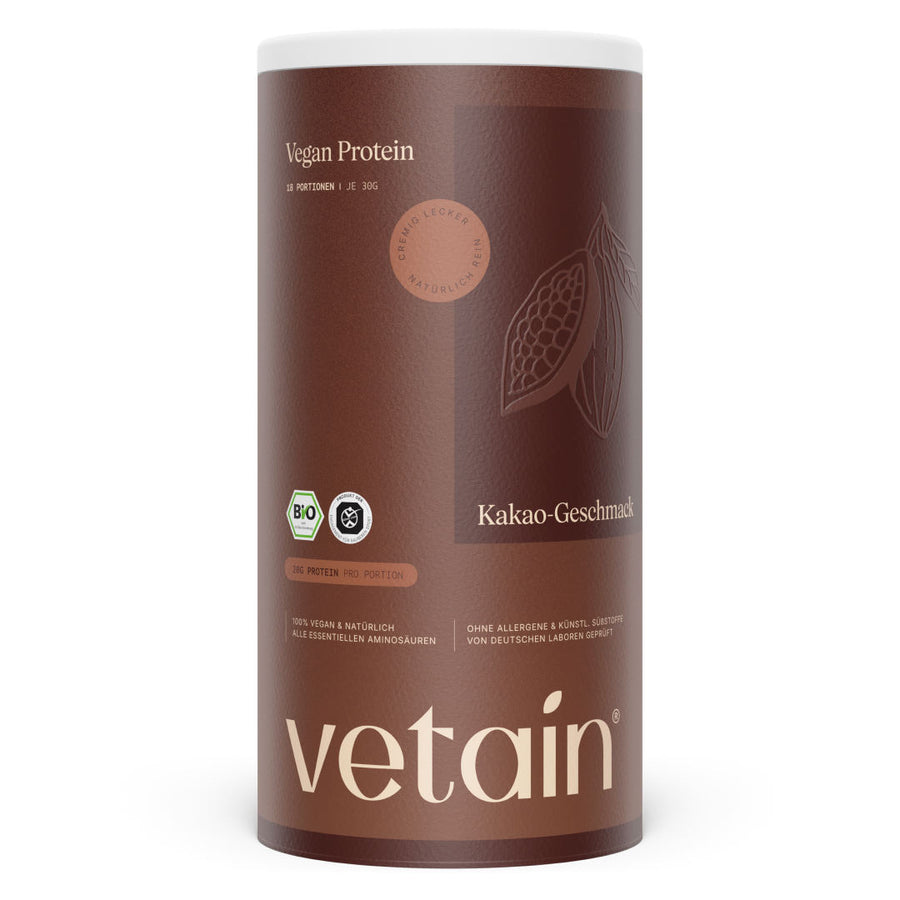
30 g
- 10 g cocoa powder
- 15 g maple syrup
- 1 pinch salt
- Optional: 1/4 tsp guar gum for extra creaminess
-
Note
- Missing an ingredient? No problem! In the recipe, you'll find alternatives to the ingredients listed here in a substitution table! That way, nothing stands in the way of making your own protein ice cream.
Hinweis: Die angegebenen Nährwerte sind Richtwerte und können je nach verwendeten Produkten, Portionsgröße und Zubereitung abweichen.
Zubereitung
Mixing: Stir all the ingredients until smooth in a tall container or blend briefly until there are no more lumps.
Fill the container: Pour the mixture into the ice cream container and make sure the surface is as level as possible.
Freeze: Place flat in the freezer for at least 24 hours.
Spin: Place the frozen block in the ice cream maker and use the "Sorbet" program. This makes it the creamiest, trust me!
Re-spin if needed: If the result is still crumbly rather than creamy, add a small splash of almond drink and mix the mixture again. After that, it will be silky smooth and creamy.
Recipe Note
And your homemade chocolate protein ice cream is ready. One final tip: It's best to make twice the amount right away and freeze one portion. In my experience, the first portion disappears faster than you can say, "more, please" ;)
Make protein ice cream without an ice cream maker - Here's how to get it perfect
No ice cream maker on hand? No problem at all! High-protein ice cream can be made without an ice cream maker, and the result is absolutely impressive. Here's my way to make creamy protein ice cream yourself, without any special equipment:
The stirring method: Put the prepared mixture in a shallow bowl and freeze it. Now for the crucial trick: take it out every 30 to 45 minutes and stir it vigorously. This breaks up the ice crystals before they become large and ensures a creamy consistency. Your protein ice cream will be ready after two to three hours. This method may require a little more effort, but you'll have your creamy ice cream in your hands all the sooner.
The nice cream version: Freeze a ripe banana cut into slices. Once it is thoroughly frozen, add it to a high-powered blender together with a little milk, the protein powder, cocoa, and a pinch of salt, then blend until creamy. In just a few minutes, you'll have soft chocolate protein ice cream, without having to wait long.
The ice cube method: Pour the prepared base into an ice cube tray and freeze it thoroughly for a few hours. Small cubes freeze evenly and are much easier for the blender to break up than one large block. Add the cubes with a small splash of almond drink to a high-powered blender or food processor and blend in short intervals, pushing the mixture down with a spatula in between so that every part is processed. The result is creamy soft-serve ice cream - ready to scoop immediately. If you prefer it firmer, put it back in the freezer for another 30 to 60 minutes.
A little tip for all three methods: Chill the mixture thoroughly beforehand and avoid temperature fluctuations. This keeps the crystals small and makes the ice cream wonderfully smooth.
Why making protein ice cream yourself is the best decision
Let's be honest, the selection of ready-made protein ice cream in supermarkets is now huge. Many brands already offer high-protein ready-made products, so why should I still bother making my own and reaching for the blender? The answer is very simple: When you make your own protein ice cream, you have full control over all the ingredients and can experiment with different flavors. More chocolate? Sure. Less sweetness? Easy. Add a piece of fresh fruit? Go for it. Whether you prefer a particular sweetener or want to avoid certain foods - when you make it yourself, you decide. That way, you also avoid hidden additives, unnecessary sugar, and anything you don't want in your ice cream.
And the best part? It's also significantly cheaper than the fancy pints from the refrigerated aisle, and it's fun to make too.
The sweetener guide for the freezer
Not every sweetener behaves the same way in the freezer - this is more important for protein ice cream than many people think.
Maple syrup / agave syrup: Liquid sweeteners lower the freezing point and keep the ice cream smooth. Personally, this is my favorite option for the protein ice cream base.
Coconut blossom sugar / date syrup: Add a caramel-like depth that pairs perfectly with chocolate.
Erythritol: This option is lower in calories, but it can make the ice cream harder and slightly grainy as it melts. It's best combined with a little liquid sweetener for perfect results.
Stevia: Very potent, but it can have a slightly bitter aftertaste when cold, so use it sparingly.
Variety of flavors: From salted caramel to fruity raspberry
Now it's going to be really delicious! When it comes to the flavor of your protein powder ice cream, your creativity knows no bounds. Here are my favorite variations:
Homemade salted caramel: Stir 1 tbsp almond butter (or your choice of nut butter) with 1 tbsp maple syrup, a splash of milk, and a pinch of salt until smooth. Now mix it into your ice cream or drizzle it on top as a topping - this is my absolute favorite.
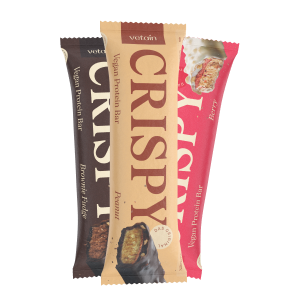
Extra protein kick: Cut one of our Vetain protein bars into small pieces and mix it in. It adds a great bite, variety in flavor, and even more protein.
Chocolate crunch: For extra crunch, mix a few soy chocolate crispies into the ice cream - crispy down to the last spoonful.
Do you like exotic flavors? Then bring the tropics home and mix some roasted coconut chips into your ice cream. This ice cream will make you feel like you're on vacation.
Craving vanilla instead of chocolate? To make a high-protein vanilla ice cream, simply replace the cocoa powder with our Vegan Protein Vanilla - and the recipe becomes a creamy protein vanilla ice cream in no time.
Fruity and tart? In my opinion, chocolate-raspberry remains an unbeatable combination. Simply fold a few fresh raspberries into the ice cream mixture, or purée them with a little sweetener and pour the sauce over the top. The fruity tartness is the perfect contrast to the rich cocoa.
The science behind the creaminess of your protein ice cream
Why does one ice cream turn out wonderfully creamy while another is grainy? It comes down to crystal-level details, and don't worry, I'll keep it brief. To make your protein ice cream smooth rather than grainy, crystal size is key. Ice cream basically consists of three things: tiny ice crystals, trapped air, and an unfrozen phase made up of protein, fat, and sugar. For a creamy texture, you need the ice crystals to be as small as possible. They form through rapid, even freezing and regular stirring - exactly what a high-performance blender does for you.
Protein plays a dual role: it binds water and stabilizes the tiny air bubbles that make your ice cream light and easy to scoop. Too much of it, however, has the opposite effect - the mixture becomes thick and rubbery. My sweet spot is around 20 g of protein per serving. And because sugar and fat lower the freezing point, a spoonful of maple syrup or almond butter keeps your ice cream smooth rather than rock-hard. A stabilizer such as guar gum or xanthan gum can also work wonders if you want to achieve an especially smooth and creamy consistency. Just experiment to see what you like best.
Serving & toppings - the best part
Your vegan protein ice cream is ready - now comes the moment I always look forward to most. Here are a few ideas for serving it:
Classic in a bowl with fresh berries and a few chocolate chips or cacao nibs.
Nice cream bowl: Put soft ice cream in a bowl and top with granola crunch, nut butter, and coconut flakes.
Ice cream sandwich: Tuck a scoop between two vegan protein waffles or oat cookies. Trust me on this one.
On a stick: Pour the base into popsicle molds - the practical snack for in between. And if you want the full chocolate experience, dip the frozen popsicle once in melted chocolate and then place it in the freezer for a few more minutes.
Half-thawed as a shake: Blend with a splash of plant-based milk - creamy, thick, and spoonable.
For storage: Store your ice cream in an airtight container in the freezer - this keeps your protein ice cream creamy for two to three weeks. However, it tastes creamiest in the first few days. Simply let it thaw for 5 to 10 minutes before serving, then it can be portioned perfectly.
Substitution table
Don't have all the ingredients at home? No problem at all, here you'll find alternatives that you can use instead.
Almond drink: Cashew or coconut drink (Higher-fat drinks (e.g. coconut) make the ice cream creamier, while low-fat ones make it firmer)
Cocoa powder: Raw cacao or ground cacao nibs
Maple syrup: Erythritol, agave syrup, date syrup, coconut blossom sugar
Guar gum: Xanthan gum, locust bean gum, or omit it (Without a binder, an extra spoonful of almond butter helps with creaminess)
ZUTATEN
- 300 ml almond drink
-
30 g
- 10 g cocoa powder
- 15 g maple syrup
- 1 pinch salt
- Optional: 1/4 tsp guar gum for extra creaminess
-
Note
- Missing an ingredient? No problem! In the recipe, you'll find alternatives to the ingredients listed here in a substitution table! That way, nothing stands in the way of making your own protein ice cream.
Hinweis: Die angegebenen Nährwerte sind Richtwerte und können je nach verwendeten Produkten, Portionsgröße und Zubereitung abweichen.
